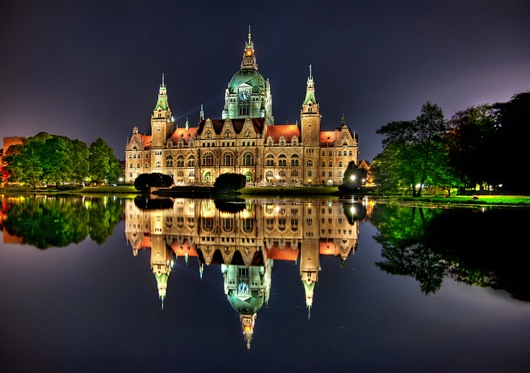
Here are some quick tips photographing High Dynamics Range (HDR), HDR images that you produce will be better:
Use bracketing feature available on your digital SLR camera. By using the bracketing feature, the camera will automatically up and drop off the exposure value (stop) very quickly, much more comfortable than we have busy hands rotating the dial.
Take a 3.5 or 7 shots. Most HDR images produced under normal conditions of 5 photos with different exposure values and then combined. If you are faced with a different object image darkness is too flashy, take 7 exposures at once so that the result is good again
Do not vary the aperture value in a photo shoot for a series of objects. Set the exposure mode to Aperture Priority position (A or Av) to ensure the sharpness of the final HDR photo. If you vary the aperture value, the camera's focus will also change, so the area of a photo into sharp inconsistent
Use matrix metering or evaluative metering where the camera will measure all the elements in the object image before determining how the amount of exposure needed
Use a tripod to ensure the end result is not blurry photo. By using a tripod, our pictures will be sharper because of consistent shots from a catapult to the next. If you have a shutter release, wear well.
If possible, use the RAW format when shooting HDR.


 RSS Feed